Table of contents
How to Caramelize Brulee?
The art of caramelizing brulee is a timeless technique that transforms a simple dessert into a masterpiece. Whether you’re hosting an elegant dinner or simply treating yourself, mastering the sugar crust on crème brûlée can elevate your culinary skills to a new level. This guide will take you through every aspect of achieving the perfect caramelized brulee, from understanding the role of caramelization to advanced techniques.
Introduction to Caramelizing Brulee
Understanding Crème Brûlée
Crème brûlée, a French classic, translates to “burnt cream,” a nod to its signature caramelized sugar topping. Beneath the crackly, golden crust lies a velvety custard, perfectly balancing creaminess and sweetness. This dessert’s allure lies not just in its taste but in the sensory experience—the satisfying crack of the sugar crust followed by the creamy indulgence underneath.
The Importance of the Caramelized Sugar Crust
The caramelized sugar crust isn’t just a decorative topping; it’s the hallmark of crème brûlée’s identity. It adds a smoky sweetness that contrasts beautifully with the custard. Plus, that caramelized layer offers a delightful crunch, creating a harmony of textures in every bite. Achieving this perfect crust requires skill and precision, but once mastered, it can turn a good dessert into an unforgettable one.
Ingredients and Equipment Needed
Selecting the Right Sugar for Caramelization
When it comes to caramelizing brulee, sugar selection plays a pivotal role. Most often, granulated white sugar is preferred because it melts evenly and caramelizes beautifully. However, superfine sugar works just as well since it spreads smoothly over the custard, ensuring even browning. Although brown sugar might seem tempting, it often burns faster due to its molasses content, so it’s better suited for other recipes. Ultimately, the right sugar makes all the difference—without it, the perfect golden crust is nearly impossible to achieve.
Essential Tools for Caramelizing Brulee
Achieving a caramelized sugar crust without the right tools can be a frustrating endeavor. At the top of the list is a culinary torch, which allows you to precisely control the caramelization process. A broiler is an alternative, but it’s less consistent and risks overheating the custard. Besides that, you’ll need a fine-mesh sieve to evenly distribute the sugar across the dessert. Having ramekins is non-negotiable too—they help the custard cook uniformly. With these tools in hand, caramelizing crème brûlée becomes much more manageable, ensuring professional-looking results every time.
Nutritional Data for Classic Crème Brûlée (Per Serving)
| Nutrient | Amount |
|---|---|
| Calories | 250 kcal |
| Total Fat | 18 g |
| Saturated Fat | 10 g |
| Cholesterol | 150 mg |
| Sodium | 50 mg |
| Total Carbohydrates | 20 g |
| Sugars | 19 g |
| Protein | 4 g |
Having the right ingredients and tools not only simplifies the process but also boosts your confidence. Now that you know what you need, let’s dive into how to prepare the custard itself!
Preparing the Crème Brûlée Custard
Classic Crème Brûlée Recipe
Preparing the custard is the heart of making crème brûlée. To begin, combine heavy cream, sugar, and vanilla in a saucepan, gently heating it until it just starts to steam. Meanwhile, whisk egg yolks in a separate bowl until they’re pale and creamy. Next, slowly temper the egg yolks by gradually pouring in the warm cream mixture while continuously whisking. This step is crucial because rushing it could scramble the eggs. Once combined, pour the mixture through a fine sieve to ensure a silky-smooth custard. Finally, divide the custard evenly into ramekins, and place them in a baking dish filled halfway with hot water to prevent overcooking.
Tips for Achieving a Smooth Custard
Although making the custard seems straightforward, a few tips can ensure flawless results every time. First, avoid boiling the cream—it should only be warm enough to incorporate the flavors. Furthermore, whisk the eggs and sugar gently to prevent bubbles from forming, which could disrupt the custard’s texture. When baking, cover the ramekins with foil to maintain an even temperature and prevent the tops from drying out. Afterward, let the custards cool before refrigerating them for at least four hours, or ideally overnight. This patience is key to allowing the flavors to develop and the custard to set.
Techniques for Caramelizing the Sugar Topping of brulee

Using a Culinary Torch
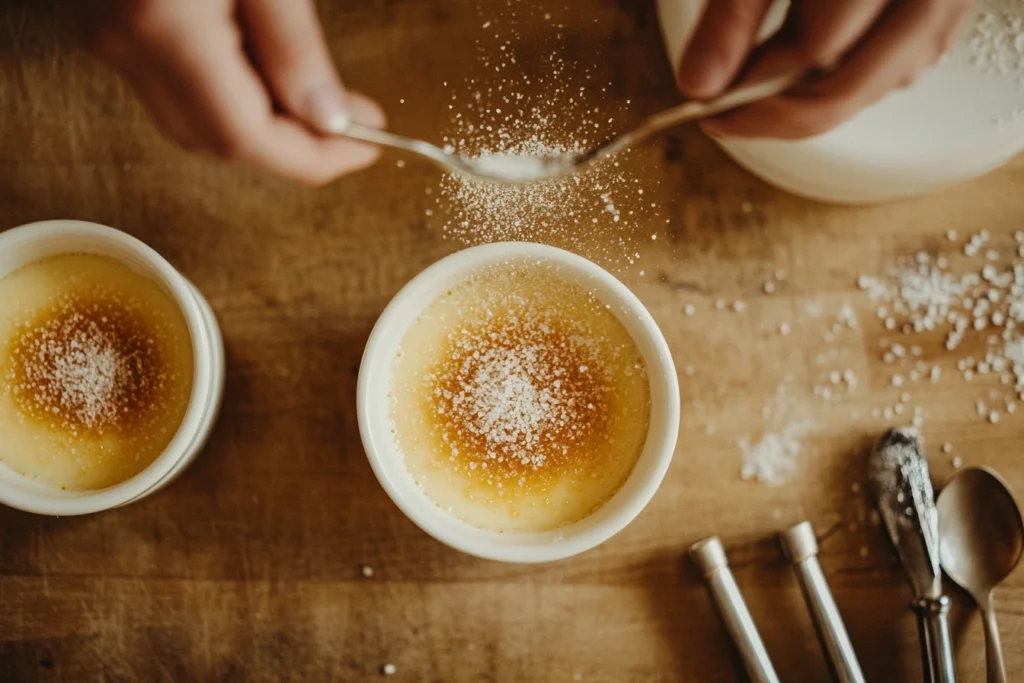
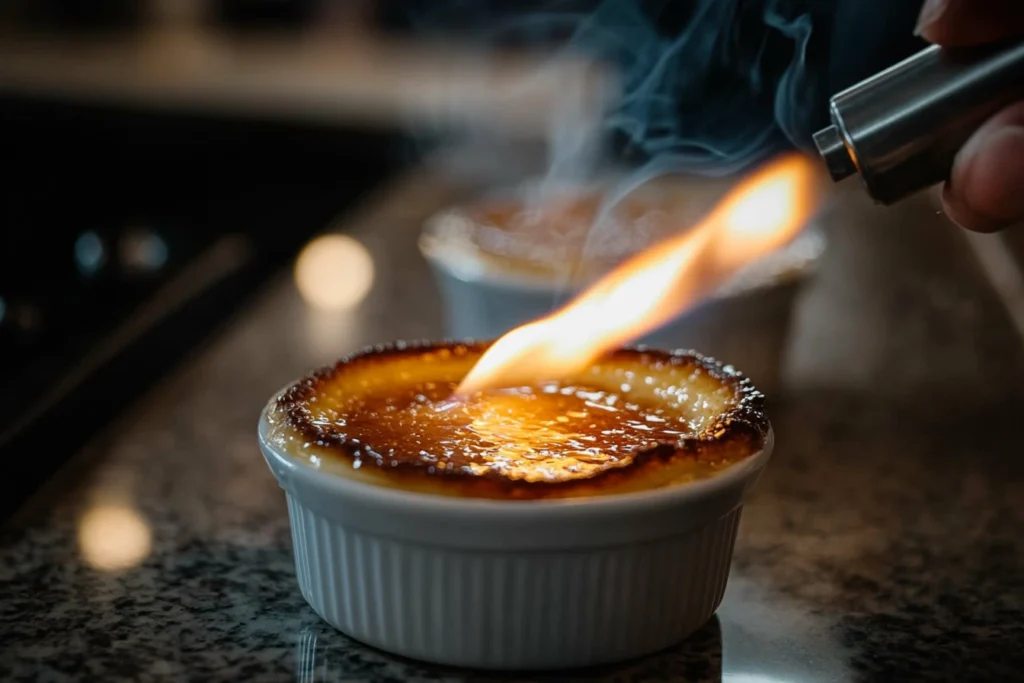
When it comes to caramelizing brulee, nothing beats the precision of a culinary torch. To get started, ensure the custard is thoroughly chilled—this prevents it from melting during the caramelization process. Sprinkle an even layer of sugar over the top, tilting the ramekin gently to distribute it evenly. Then, with the torch in hand, ignite the flame and hold it about 2–3 inches away from the sugar.
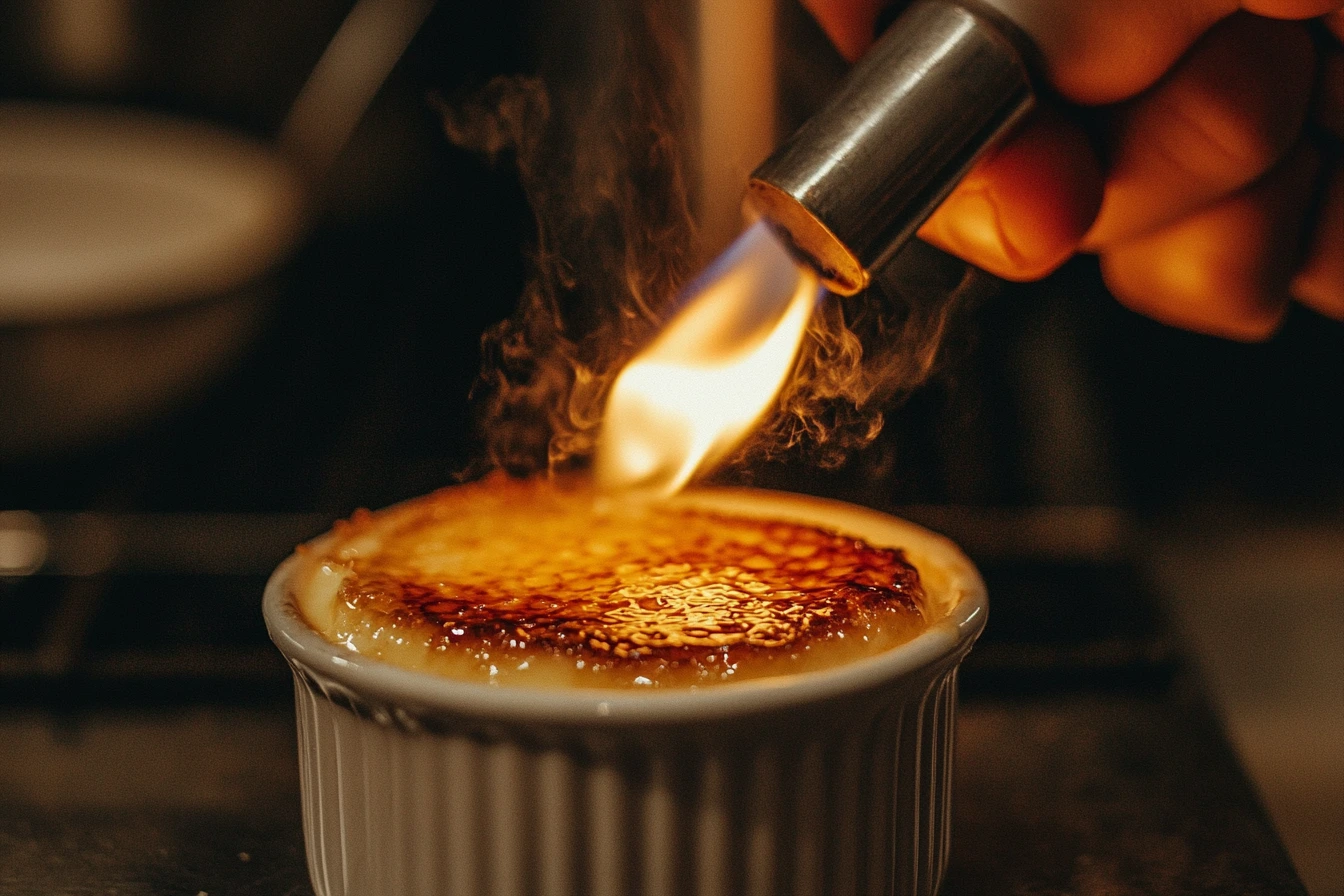
As you move the flame in small circles, you’ll notice the sugar begin to melt and bubble. Slowly but steadily, the surface transforms into a golden, glass-like crust. But here’s the catch: keep the flame moving constantly to avoid burning one spot while neglecting another. Once the sugar crust is uniform and crackly, allow it to cool briefly before serving. The result? A satisfyingly crisp layer that shatters under your spoon, revealing the creamy custard below.

Broiler Method for Caramelization
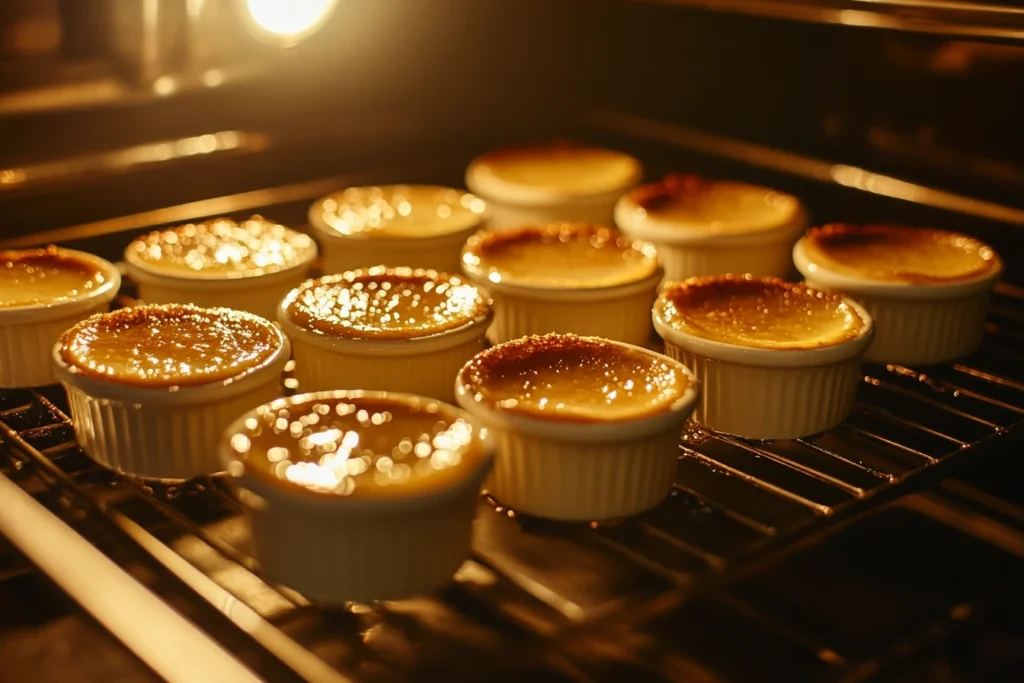
If you don’t have a torch, don’t worry—you can still achieve a caramelized brulee using your oven’s broiler. Start by preheating the broiler to its highest setting. Next, sprinkle an even sugar layer over the custard, as you would for the torch method. Place the ramekins on a baking sheet, positioning them about 4–5 inches from the broiler’s heat source.
Here’s where timing becomes crucial: keep a close eye on the sugar as it melts and caramelizes. It can go from perfect to burnt in mere seconds, so don’t get distracted! Rotating the ramekins halfway through can help achieve an even caramelization. Once the sugar crust is ready, let it cool for a minute before serving. While this method is less precise than a torch, it’s a reliable alternative that can still produce stunning results.
Both methods have their merits, and choosing between them depends on what tools you have on hand. Either way, the satisfaction of creating a perfectly caramelized brulee is well worth the effort!
Advanced Caramelization Techniques
Double Caramelization for Extra Crunch
For those who want to take caramelizing brulee to the next level, double caramelization is a game-changer. After creating the first caramelized sugar crust using your preferred method, let it cool completely. Once it hardens, sprinkle another thin layer of sugar on top. Yes, it may seem indulgent, but this second layer adds an extra dimension of crunch and sweetness.
Using your culinary torch again (or broiler, if that’s your go-to), carefully melt and caramelize the second layer without burning the first. This requires precision and a steady hand, as you’re working over an already delicate crust. The result? A thicker, more decadent sugar topping that crackles even more dramatically when you break into it. While this technique may require extra effort, it’s perfect for special occasions or impressing your guests with a gourmet touch.
Incorporating Flavored Sugars
If you’re looking to add a creative twist to your crème brûlée, consider using flavored sugars for caramelization. Infused sugars, such as vanilla, cinnamon, or even lavender, can bring an unexpected burst of flavor to the dessert. To prepare, mix granulated sugar with your chosen flavorings and allow it to sit for a day or two to absorb the aromas fully.
When you’re ready to caramelize, use the infused sugar just as you would plain sugar. However, be mindful that some flavoring agents, like citrus zest or dried herbs, may caramelize at slightly different rates. Therefore, keeping a close eye on the sugar as it melts is crucial. This technique not only enhances the taste of your crème brûlée but also adds a personal, artisanal touch that sets it apart from traditional recipes.
Advanced caramelization techniques like these showcase your creativity and finesse, turning a beloved dessert into a culinary masterpiece. Whether you opt for extra crunch or a hint of unexpected flavor, these methods ensure your crème brûlée stands out every time.
Common Mistakes to Avoid
Over-Caramelizing the Sugar
One of the most common pitfalls when caramelizing brulee is over-caramelizing the sugar topping. While aiming for a deep amber color, it’s easy to let the sugar burn if you’re not paying close attention. Burnt sugar not only tastes bitter but also detracts from the dessert’s elegance. To avoid this, always keep the flame moving if using a torch, or closely monitor the sugar under the broiler.

Additionally, it’s helpful to caramelize in stages. Start with a lighter caramelization, allowing the sugar to bubble and melt evenly. If it looks too pale, you can go over it briefly with the torch again. Remember, it’s better to underdo the first pass than to scorch it irreparably. By exercising patience and control, you’ll achieve a balanced, flavorful crust without any unpleasant bitterness.
Uneven Sugar Layer Application
Another common mistake involves uneven sugar distribution across the custard’s surface. An uneven layer can lead to inconsistent caramelization, where some parts burn while others remain raw. To address this, make sure you’re using fine or granulated sugar and spreading it evenly. Tapping the ramekin lightly while rotating it can help create a smooth, uniform coating.
What’s more, don’t overload the top with sugar. While it might be tempting to pile it on, too much sugar can create a thick, gummy layer rather than the desired crackly crust. A thin, even layer is all you need for that perfect golden finish. Taking the time to apply the sugar properly ensures a stunning final result and avoids unnecessary waste.
Serving and Enjoying Crème Brûlée
Pairing Crème Brûlée with Other Desserts
When it comes to serving crème brûlée, pairing it with complementary desserts can take your presentation to the next level. For instance, a light, citrusy sorbet works wonders by balancing the richness of the custard. Alternatively, fresh berries, such as raspberries or blueberries, not only add a pop of color but also enhance the dish’s flavor profile with their natural tartness.
If you’re hosting a dessert buffet, placing crème brûlée alongside chocolate truffles or mini tarts can create a variety of textures and flavors, keeping your guests intrigued. However, remember to keep the pairings simple—after all, crème brûlée is the star of the show! By thoughtfully combining it with other treats, you can create a dessert experience that’s both cohesive and delightful.
Ideal Occasions for Serving Crème Brûlée
Because of its elegance, crème brûlée is perfect for a range of occasions. Whether you’re planning a romantic dinner, celebrating an anniversary, or hosting a sophisticated soirée, this dessert adds a touch of luxury to the table. Even during holidays like Thanksgiving or Christmas, crème brûlée offers a lighter alternative to heavier desserts, ensuring your menu has something for everyone.
What’s more, it’s an excellent choice for make-ahead preparations. You can prepare the custards and chill them the night before, leaving only the caramelization for the day of the event. This convenience allows you to focus on other aspects of your meal without compromising on dessert quality.
From intimate gatherings to grand celebrations, crème brûlée effortlessly impresses. Its combination of creamy indulgence and crackly sophistication never fails to leave a lasting impression on your guests.
FAQs
What is the difference between crème brûlée and custard?
The difference between crème brûlée and custard lies in the details! While both are silky-smooth, crème brûlée boasts a signature caramelized sugar crust that adds a satisfying crunch, whereas custard is typically served plain or as a base for other desserts. Curious about the ingredients and techniques that set them apart? Our full comparison of crème brûlée vs. custard!
Can you caramelize crème brûlée without a torch?
Yes, you absolutely can! While a culinary torch is the most popular tool for caramelizing crème brûlée, you can use your oven’s broiler as a reliable alternative. To do this, preheat the broiler and position your ramekins a few inches below the heat source. Sprinkle an even layer of sugar on the custards, then broil until the sugar melts and caramelizes. However, be sure to watch closely—it only takes seconds for the sugar to turn from golden to burnt! This method might not offer the precision of a torch, but it still delivers a deliciously crisp crust.
How long should you torch crème brûlée?
The torching process for crème brûlée typically takes about 1–2 minutes per ramekin. However, the exact time depends on the intensity of your torch’s flame and how dark you prefer the caramelization. Moving the flame in small circles ensures even melting and prevents any spots from burning. Keep the flame a few inches away from the sugar to avoid overheating the custard underneath. With a little patience, you’ll achieve that perfect balance between caramelized crunch and creamy indulgence.
Why is my crème brûlée sugar not caramelizing properly?
If your sugar isn’t caramelizing, the most likely culprit is uneven heat application. Ensure that you’re holding the torch at the right distance (2–3 inches away) and moving it steadily over the sugar. If using a broiler, check that it’s fully preheated before placing your ramekins inside. Additionally, make sure the sugar layer is thin and evenly distributed—too thick, and it may take longer to melt. Finally, always work with chilled custards, as warm custards can interfere with the caramelization process.
Can I make crème brûlée ahead of time?
Yes, crème brûlée is a fantastic make-ahead dessert! You can prepare the custard and chill it in the ramekins up to two days in advance. When you’re ready to serve, simply add the sugar topping and caramelize it with a torch or broiler. This flexibility makes crème brûlée an excellent choice for entertaining, allowing you to focus on other dishes without worrying about last-minute dessert prep.
Conclusion
The journey to mastering how to caramelize brulee is as satisfying as the dessert itself. From understanding the nuances of custard preparation to perfecting the caramelized sugar crust, every step contributes to an unforgettable dining experience. With the right tools, ingredients, and techniques, achieving a professional-quality crème brûlée is well within your reach.
Whether you prefer using a torch for precision or a broiler for convenience, the methods outlined here ensure that your caramelized brulee turns out perfect every time. By avoiding common mistakes like over-caramelization and uneven sugar distribution, you can confidently create a dessert that dazzles both visually and in taste.
Moreover, exploring advanced techniques such as double caramelization or flavored sugars adds a personal and creative touch to your dessert. Pairing crème brûlée with complementary treats or serving it at special occasions further enhances its appeal, making it the highlight of any gathering.
So, the next time you’re looking to impress guests or indulge in a little culinary luxury, remember these tips for caramelizing crème brûlée. The combination of silky custard and that crackly, golden sugar crust is a classic for a reason—every bite is a testament to the art of dessert-making done right.


