Table of Contents
Introduction
Making Greek yogurt at home is easier than you might think. With just a few basic ingredients and some patience, you can create a creamy, protein-packed delight that’s far superior to store-bought versions. Plus, when you make it yourself, you control every aspect—from the texture and flavor to the quality of the ingredients.
This guide covers everything you need to know about how to make Greek yogurt. From understanding its unique qualities to preparing it step-by-step, you’ll soon have a homemade batch that’s perfect for breakfast, snacks, or desserts. Let’s dive in
Understanding Greek Yogurt
What is Greek Yogurt?
Greek yogurt, also known as strained yogurt, is a type of yogurt that has been carefully strained to remove most of its whey, the liquid part of milk. This process creates a thicker, creamier texture compared to regular yogurt, while also concentrating its protein content.
Unlike its regular counterpart, Greek yogurt has a tangy flavor that pairs beautifully with both sweet and savory dishes. It’s versatile, nutrient-dense, and incredibly satisfying, making it a staple in kitchens around the world.
Health Benefits of Greek Yogurt
Not only is Greek yogurt delicious, but it’s also a nutritional powerhouse. Here’s a quick look at its benefits:
| Nutrient | Amount (per 100g) |
|---|---|
| Calories | ~59 kcal |
| Protein | ~10g |
| Total Fat | ~0.4g |
| Carbohydrates | ~3.6g |
| Calcium | ~110mg |
Why it’s good for you:
- High in Protein: Keeps you full longer and supports muscle repair.
- Low in Calories: Ideal for weight management without sacrificing flavor.
- Rich in Probiotics: Promotes gut health and improves digestion.
- Calcium Boost: Strengthens bones and teeth.
Ingredients and Equipment Needed
Essential Ingredients
Before you can begin making Greek yogurt, it’s important to gather the right ingredients. Fortunately, the ingredient list is refreshingly simple, which makes this process both affordable and approachable. Here’s what you’ll need:
- Milk: Any type of milk will work, but whole milk produces the creamiest yogurt. If you prefer a lighter version, you can use low-fat or even non-dairy milk, though the texture may vary slightly.
- Yogurt Starter: A small amount of plain, unflavored yogurt with live active cultures serves as the base for fermentation. If you’re unsure which brand to use, look for labels that specify “live and active cultures.”
- Optional Sweeteners or Flavorings: Though not required, ingredients like honey, vanilla extract, or a pinch of salt can add a personal touch to your yogurt.
Interestingly, the quality of your milk directly affects the final product. Therefore, opting for fresh, high-quality milk is key to achieving rich and delicious Greek yogurt.
Necessary Equipment
Now that your ingredients are ready, the next step is gathering the equipment you’ll need. The good news is that you likely already have most of these items in your kitchen. Let’s take a look:
- A Heavy-Bottomed Pot: To heat the milk evenly without scorching it.
- Thermometer: Ensures the milk reaches the precise temperature required for culturing.
- Whisk or Spoon: For stirring the milk and yogurt starter together.
- Clean Jars or Bowls: Used to store the yogurt during and after incubation.
- Strainer and Cheesecloth: Essential for draining the whey and achieving the thick, creamy consistency that defines Greek yogurt.
- Warm Environment: This could be an oven with the light on, a yogurt maker, or even a slow cooker, all of which maintain the ideal temperature for culturing.
By now, you’re well-equipped to get started, but here’s an extra tip: using sterilized equipment ensures a clean fermentation process, preventing unwanted bacteria from interfering with your yogurt.
Why Preparation Matters
It’s worth emphasizing that careful preparation lays the foundation for success. With your ingredients measured and your equipment ready, you’ll save time and avoid any last-minute hiccups. Plus, a little extra effort upfront can make the entire process much smoother, ensuring your Greek yogurt turns out perfectly every time.
Step-by-Step Guide to Making Greek Yogurt
Preparing the Milk

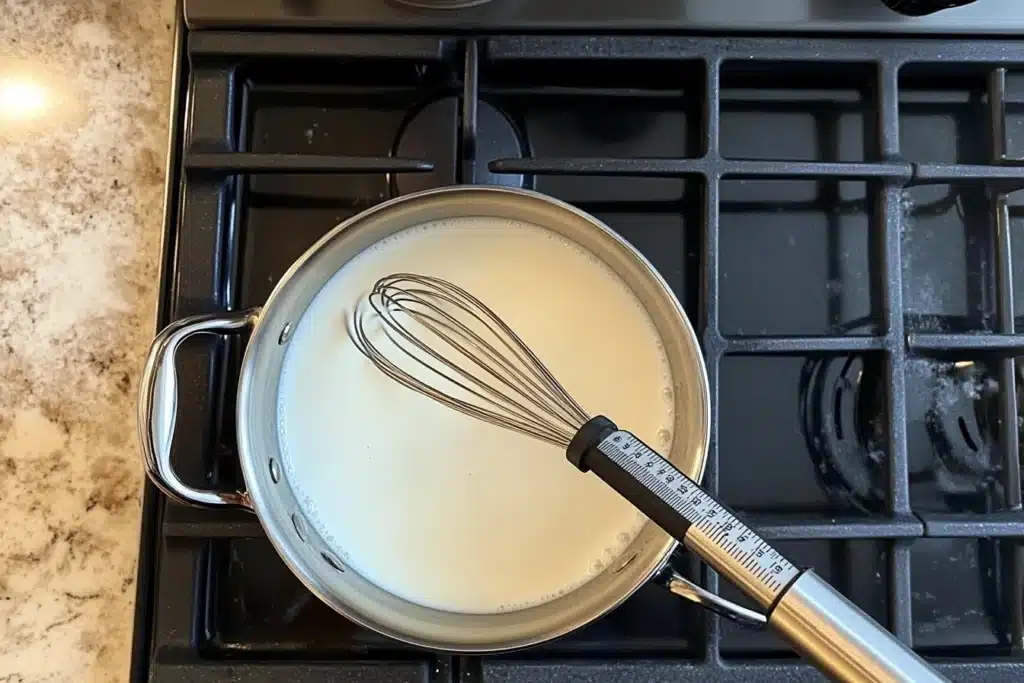
The first step in making homemade Greek yogurt is heating the milk. This process is crucial because it not only helps create a creamy texture but also eliminates any harmful bacteria. Here’s how to do it:
- Pour the Milk into a Pot: Start by pouring your chosen milk into a heavy-bottomed pot. Use enough milk to yield the amount of yogurt you want, keeping in mind that straining reduces the final volume by about half.
- Heat the Milk: Gently heat the milk over medium heat, stirring occasionally to prevent it from scorching. Using a thermometer, monitor the temperature closely until it reaches 180°F (82°C). This step helps denature the proteins, which leads to thicker yogurt.
- Cool the Milk: Once the milk reaches the desired temperature, remove it from the heat and allow it to cool to around 110°F (43°C). To speed up cooling, you can place the pot in a sink filled with ice water, but be sure to stir frequently.
Inoculating with Yogurt Culture
After the milk has cooled, the next step is introducing the yogurt starter, which contains the live cultures necessary for fermentation. Follow these steps:
- Add the Yogurt Starter: Take about 2 tablespoons of plain yogurt with live cultures and mix it with a small amount of the cooled milk. Once combined, whisk this mixture back into the pot with the rest of the milk.
- Mix Gently: Stir the mixture gently but thoroughly to ensure the cultures are evenly distributed. Avoid vigorous mixing, as this could interfere with the culturing process.
By now, your milk is officially on its way to becoming yogurt! But before moving to the next step, make sure the temperature remains around 110°F, as this is ideal for culturing.

Incubation Period
Next comes the most critical step: allowing the yogurt to ferment. This step requires patience, but it’s where the magic happens!
- Transfer to Containers: Pour the milk mixture into clean jars or bowls. Cover each container loosely with a lid or plastic wrap to allow airflow while preventing contamination.
- Maintain Warmth: Place the containers in a warm environment to incubate. An oven with the light on works well, but a yogurt maker, slow cooker, or even a sunny countertop can also do the trick.
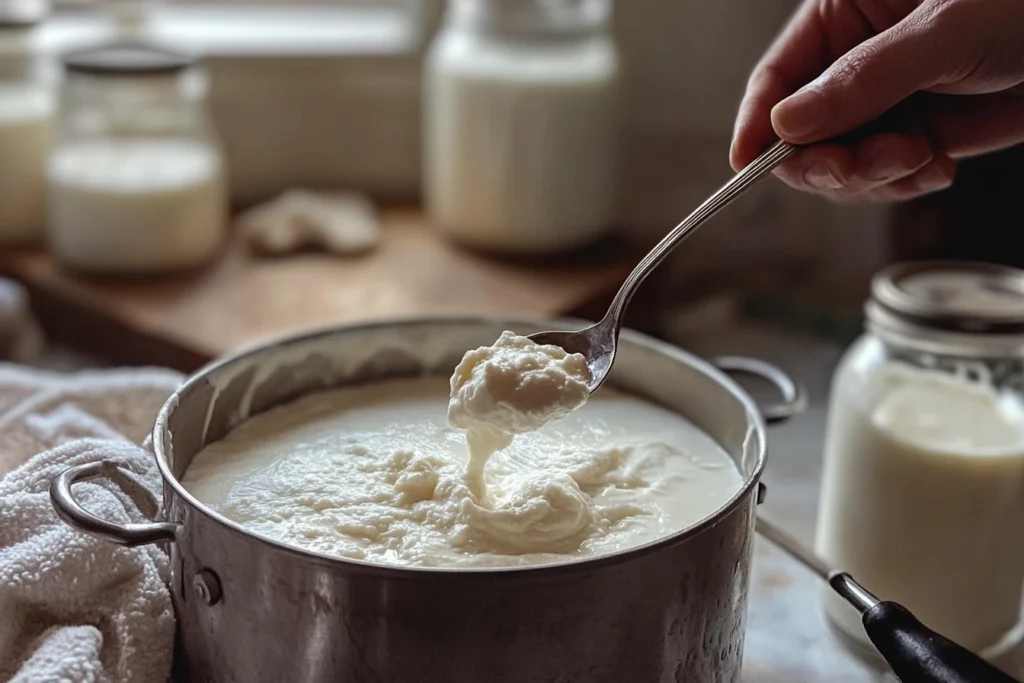
- Let it Set: Allow the yogurt to ferment for 6–12 hours, depending on your desired tanginess. The longer you let it sit, the tangier and thicker it will become.
During this time, resist the urge to disturb the yogurt. Even slight movements can disrupt the setting process, so it’s best to let it rest undisturbed.

Straining the Yogurt
Finally, to transform your yogurt into Greek yogurt, it’s time to strain out the whey. Here’s how:
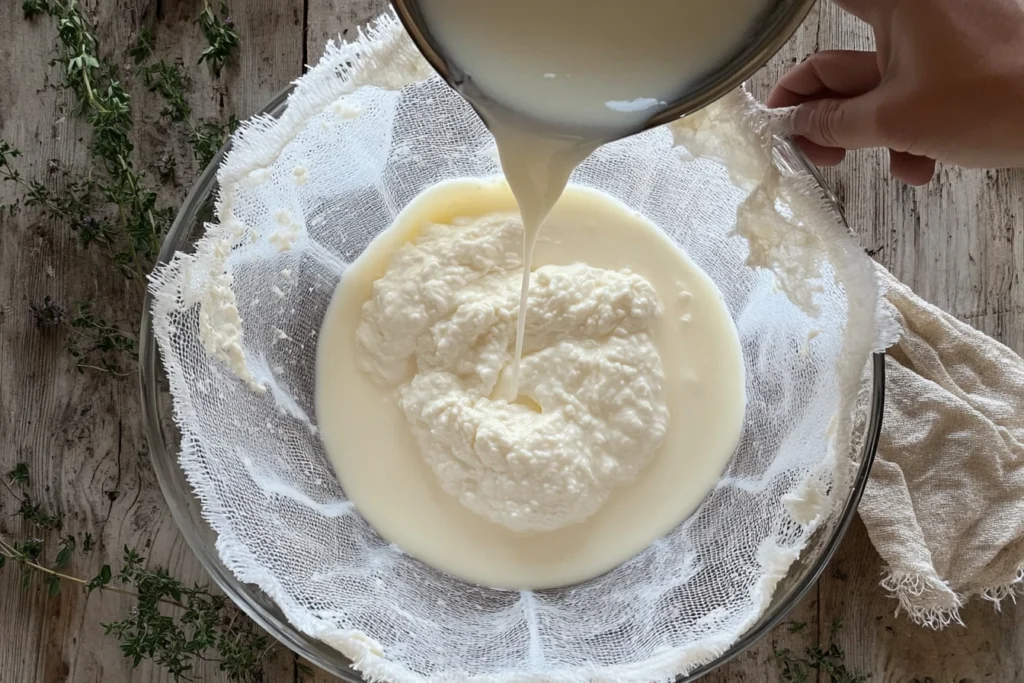
- Set Up Your Strainer: Place a fine mesh strainer or colander over a large bowl, then line it with cheesecloth or a clean kitchen towel.
- Strain the Yogurt: Pour the yogurt into the strainer, ensuring the liquid whey collects in the bowl beneath.
- Wait for Desired Thickness: Let the yogurt strain for 1–4 hours, depending on how thick you want it. For ultra-thick yogurt, you can even let it strain overnight in the refrigerator.
Pro Tip: Don’t throw away the whey! This byproduct is rich in protein and can be used in smoothies, soups, or even bread recipes.
Tips for Perfect Greek Yogurt
Achieving Desired Thickness
If you’ve ever wondered how to make your Greek yogurt as thick and creamy as store-bought versions, the secret lies in a few simple adjustments. For instance, extending the straining time is an easy way to achieve a firmer texture. Additionally, if you prefer an ultra-thick consistency, consider adding a splash of cream to the milk before heating it.
Another tip is to use whole milk, as it naturally results in a creamier yogurt. However, if you’re watching your calorie intake, low-fat milk works well too—just expect a slightly lighter texture. And here’s a bonus tip: doubling the amount of starter culture can speed up fermentation, though it might also make the yogurt tangier.

Flavoring Your Yogurt
Once you’ve perfected the texture, it’s time to experiment with flavors. While plain Greek yogurt is delicious on its own, adding natural ingredients can take it to the next level. For example, a drizzle of honey or maple syrup adds a touch of sweetness, while fresh fruits like berries or mango provide a burst of freshness.
If you’re a fan of savory flavors, mix in garlic, dill, or lemon juice for a homemade tzatziki sauce. Alternatively, stirring in vanilla extract or cinnamon creates a dessert-like treat that’s perfect for satisfying sweet cravings. With so many options, you’ll never run out of ways to customize your yogurt!
You can also try High-Protein Greek Yogurt Garlic Bread
Storing and Using Greek Yogurt
Proper Storage Methods
Now that your Greek yogurt is ready, proper storage is essential to maintain its freshness. For starters, transfer the yogurt into an airtight container to prevent contamination and preserve its creamy texture. You can store it in the refrigerator for up to 7–10 days, though consuming it within the first week ensures the best flavor.
If you’ve made a large batch and want to extend its shelf life, freezing is another option. Simply portion the yogurt into smaller containers or ice cube trays, then thaw it in the fridge when needed. Just keep in mind that freezing can alter the texture slightly, making it less creamy upon thawing.
Culinary Uses of Greek Yogurt
One of the best things about Greek yogurt is its versatility in the kitchen. Beyond being a delicious snack, it can be used in countless recipes to enhance both flavor and nutrition. Here are a few ideas to inspire you:
- As a Substitute: Replace sour cream or mayonnaise in dips, dressings, and sandwiches for a healthier twist.
- In Baking: Add it to muffins, pancakes, or bread for extra moisture and a subtle tang.
- As a Marinade: Mix with spices and lemon juice to create a tenderizing marinade for chicken, fish, or tofu.
- In Smoothies: Blend it with fruits, greens, and a splash of milk for a protein-packed breakfast.
Additionally, Greek yogurt pairs beautifully with granola, nuts, and seeds for a quick, nutritious parfait. No matter how you use it, its creamy texture and tangy flavor make it a standout ingredient in any dish.
FAQs About Making Greek Yogurt
How long does homemade Greek yogurt last?
Homemade Greek yogurt typically lasts about 7–10 days when stored in an airtight container in the refrigerator. However, for the freshest flavor and best texture, it’s a good idea to enjoy it within the first week. If you notice any off smells, unusual texture, or signs of mold, it’s best to discard it immediately. To extend its shelf life, consider freezing smaller portions, though the texture may change slightly upon thawing.
Can I use non-dairy milk to make Greek yogurt?
Yes, absolutely! While traditional recipes use cow’s milk, you can make Greek yogurt with non-dairy alternatives like almond milk, coconut milk, or soy milk. Keep in mind, though, that non-dairy milk requires additional steps, such as adding thickeners like agar agar or pectin, since it doesn’t contain the natural proteins found in dairy. Despite these adjustments, the results are still creamy and delicious, making it a fantastic option for those with dietary restrictions.
What can I do with the leftover whey?
Don’t let the leftover whey go to waste! This protein-rich liquid is incredibly versatile and can be used in a variety of ways. For instance, you can:
- Add it to smoothies for an extra protein boost.
- Use it as a substitute for water or milk in baking bread, pancakes, or muffins.
- Stir it into soups or stews to enhance their nutritional value.
- Water your plants with it (diluted, of course) as it’s packed with nutrients.
By finding creative uses for whey, you can minimize food waste while reaping additional health benefits.
Why is my yogurt not setting properly?
If your yogurt didn’t set as expected, don’t worry—it happens to the best of us! One common reason is that the milk wasn’t cooled to the correct temperature before adding the starter. If it’s too hot, it can kill the live cultures, preventing fermentation. Another possibility is using a yogurt starter that doesn’t contain live active cultures. Always double-check the label to ensure you’re using the right kind.
Additionally, inadequate incubation time or inconsistent temperatures can also cause problems. If this happens, try incubating the yogurt longer or using a more controlled environment, like a yogurt maker or oven with a light on.
Can I make Greek yogurt without a starter culture?
Technically, yes. While a starter culture provides the most reliable results, you can create yogurt by using a small amount of live, active yogurt from a previous batch. Alternatively, some people use probiotic capsules as a substitute for a starter, though this method requires experimentation to achieve the right consistency and flavor.
If you don’t have access to any of these options, consider purchasing a high-quality starter culture online or at your local grocery store for the best results.
Conclusion
In conclusion, making Greek yogurt at home is not only a rewarding process but also a simple and cost-effective way to enjoy a fresh, creamy, and nutritious treat. By following the step-by-step guide in this article, you’ll master the art of creating thick, tangy yogurt that’s far superior to store-bought options. Plus, with full control over the ingredients, you can tailor your yogurt to suit your taste and dietary preferences.
From its impressive protein content to its versatility in both sweet and savory dishes, Greek yogurt offers countless benefits. Whether you’re using it as a healthy snack, a baking ingredient, or a creamy addition to smoothies, this staple has earned its place as a nutritional powerhouse.
Moreover, the process of making Greek yogurt allows for creativity and experimentation. You can customize the flavor, thickness, and even the type of milk you use, ensuring that every batch feels uniquely yours. And don’t forget the leftover whey—it’s a hidden gem that can be used in many creative ways, from cooking to gardening!
Now that you have all the tools and tips you need, there’s no better time to start your yogurt-making journey. With just a little patience and preparation, you’ll have a homemade batch that’s both delicious and packed with health benefits. So, why not give it a try today? Your kitchen will be filled with the delightful aroma of homemade Greek yogurt before you know .

