Table of contents
Ah, gipfeli – the Swiss version of the beloved croissant that’s been winning hearts and taste buds across the globe. If you’ve ever sunk your teeth into one of these buttery, flaky crescents, you know why they’re a breakfast staple in Switzerland. However, why settle for store-bought when you can create these heavenly pastries in your own kitchen? In this comprehensive guide, we’ll dive into the art of making authentic gipfeli, sharing tips, tricks, and a foolproof recipe that’ll have you feeling like a master Swiss baker in no time. So, roll up your sleeves, grab your rolling pin, and let’s embark on this delicious journey!
The History and Charm of Gipfeli recipe
A Swiss Twist on a Classic
Let’s face it, the gipfeli recipe is more than just a pastry – it’s a cultural icon! While its French cousin, the croissant, might hog the limelight, the Swiss gipfeli holds its own with a unique charm. These crescent-shaped delights have been gracing Swiss breakfast tables for generations, and it’s high time we gave them the spotlight they deserve.
From Vienna to Zurich: A Pastry’s Journey
Would you believe that the gipfeli’s roots can be traced back to Vienna? Yep, you heard that right! This flaky wonder made its way to Switzerland and underwent a delicious transformation. The Swiss took the Austrian kipferl and gave it their own twist, quite literally. The result? A pastry that’s crispier, more buttery, and dare we say, even more irresistible than its predecessors.
Ingredients: The Building Blocks of Perfection
Flour Power
When it comes to gipfeli, not just any old flour will do. You’ll want to get your hands on some high-protein flour. This is the secret to achieving that perfect flaky texture that’ll make your taste buds dance with joy. Additionally, the high protein content helps create the strong gluten network necessary for those beautiful layers.
Butter: The More, The Merrier
Let’s not beat around the bush – gipfeli are butter’s best friend. We’re talking high-quality, European-style butter here, folks. It’s what gives these pastries their melt-in-your-mouth goodness. Not only that, but the higher fat content in European butter also contributes to a richer flavor and flakier texture.
Yeast: The Rising Star
Active dry yeast is the unsung hero of our gipfeli recipe. It’s what gives these pastries their light, airy texture. Without it, you’d end up with something closer to a butter biscuit – tasty, sure, but not quite the gipfeli experience we’re after. Therefore, make sure your yeast is fresh and active for the best results.
The Supporting Cast
While flour, butter, and yeast take center stage, let’s not forget about the other crucial ingredients. Salt enhances flavor and strengthens the dough structure. Sugar, on the other hand, not only adds a touch of sweetness but also helps feed the yeast and contributes to that beautiful golden-brown color during baking.
The Gipfeli-Making Process: Patience is a Virtue
Mixing and Kneading: The Foundation
Alright, let’s get our hands dirty! Start by mixing your dry ingredients, then slowly add in the wet ones. Knead that dough like your life depends on it – well, maybe not that dramatically, but you get the idea. You’re looking for a smooth, elastic texture that’s just begging to be rolled out. This process typically takes about 10-15 minutes by hand, or 5-7 minutes in a stand mixer.
The Lamination Station
Here’s where the magic happens. Lamination is the process of folding butter into the dough, creating those heavenly layers that gipfeli are famous for. It’s a bit like creating a buttery, edible origami. Fold, roll, chill, repeat – it’s a labor of love, but oh boy, is it worth it! This step is crucial for achieving that signature flaky texture, so take your time and be patient.
Shaping: The Crescent Moon Rise
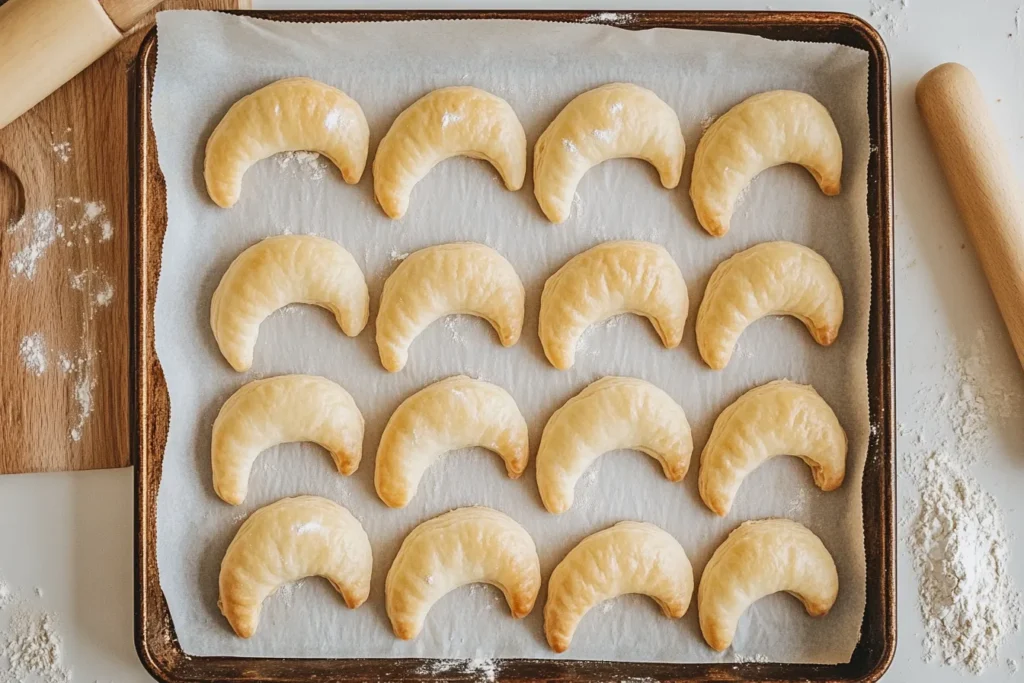
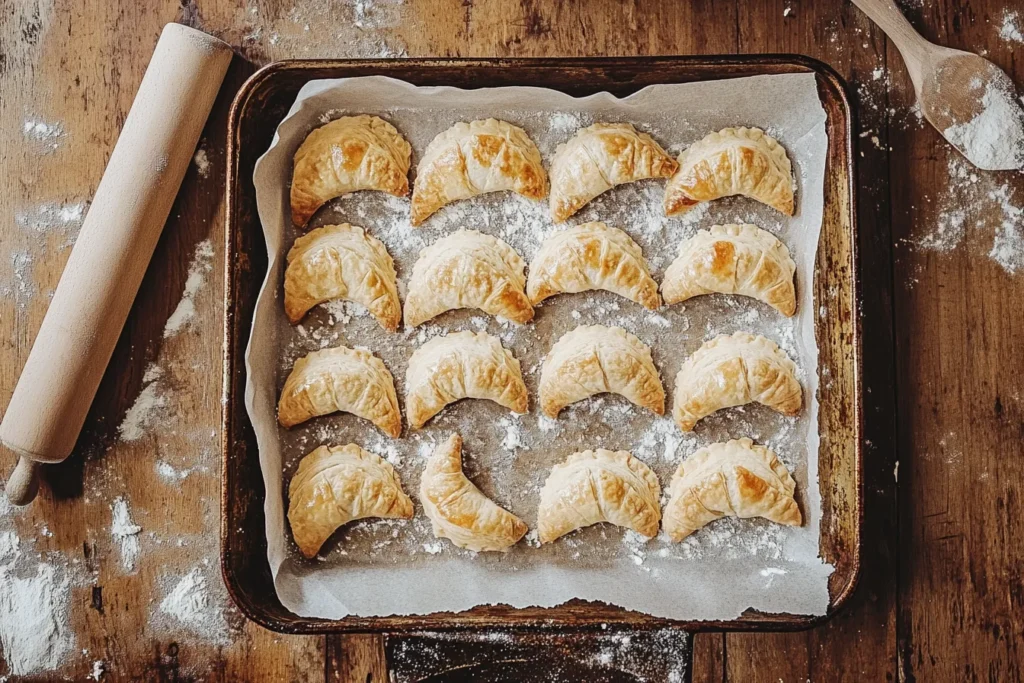
Now for the fun part – shaping! Roll out your dough, cut it into triangles, and roll them up from the base to the tip. Give them a little curve, and voila! You’ve got yourself some bona fide gipfeli shapes. It’s like sculpting, but with the added bonus of getting to eat your art afterward. For example, you might want to experiment with different sizes or even try your hand at straight gipfeli for variety.
Baking: The Moment of Truth
Preheating Perfection
Crank that oven up! Gipfeli recipe love a hot environment – it’s what gives them that gorgeous golden-brown color and crispy exterior. Preheat your oven to about 200°C (390°F) and get ready for some serious baking action. While you’re waiting, you can prepare your baking sheets with parchment paper or a silicone mat.

The Waiting Game
As your gipfeli bake, resist the urge to open the oven door every two minutes. We know it’s tempting, but trust the process. In about 15-20 minutes, you’ll be rewarded with the most heavenly aroma wafting through your kitchen. Of course, every oven is different, so keep an eye on them towards the end of the baking time to ensure they don’t over-brown.
The Perfect Gipfeli Recipe
Ingredients
- 500g high-protein flour
- 10g salt
- 50g sugar
- 10g active dry yeast
- 300ml cold milk
- 300g cold butter (for lamination)
- 1 egg (for egg wash, optional)
Instructions
- Mix flour, salt, and sugar in a large bowl.
- Dissolve yeast in milk and add to the dry ingredients.
- Knead until smooth and elastic (about 10 minutes).
- Rest the dough in the fridge for 1 hour.
- Roll out the dough, place the butter in the center, and fold.
- Perform three sets of folds, chilling for 30 minutes between each.
- Roll out the dough and cut into triangles.
- Roll up the triangles from base to tip, curving slightly.
- Let rise for 1 hour.
- Brush with egg wash if desired.
- Bake at 200°C for 15-20 minutes until golden brown.
Nutritional Information
| Nutrient | Amount per Serving |
|---|---|
| Calories | 220 |
| Fat | 12g |
| Carbs | 24g |
| Protein | 4g |
| Fiber | 1g |
Tips for Gipfeli Success
Temperature Matters
Keep everything cold! Cold butter, cold milk, even cold hands if you can manage it. This helps maintain those flaky layers we’re after. If things start getting too warm, don’t hesitate to pop your dough back in the fridge for a quick chill. Consequently, you’ll have better control over the dough and achieve more distinct layers in your final product.
Practice Makes Perfect
Don’t be discouraged if your first batch isn’t Swiss bakery-worthy. Like any art form, making gipfeli takes practice. Each time you make them, you’ll get a better feel for the dough and the process. Before you know it, you’ll be churning out gipfeli like a pro! Additionally, don’t be afraid to experiment with different techniques or small variations to find what works best for you.
The Importance of Resting
Resting periods are crucial in gipfeli-making. They allow the gluten to relax, making the dough easier to work with and resulting in a more tender final product. Therefore, don’t skip these resting times, even if you’re in a hurry. Your patience will be rewarded with superior texture and flavor.

Serving Suggestions: Elevate Your Gipfeli Game
Classic Companions
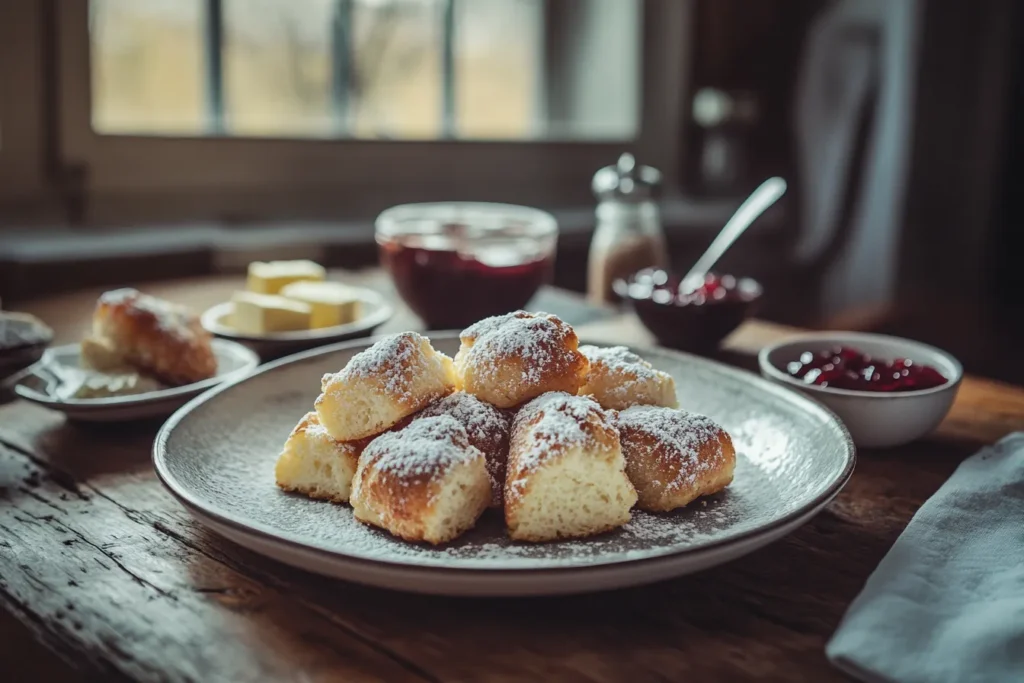
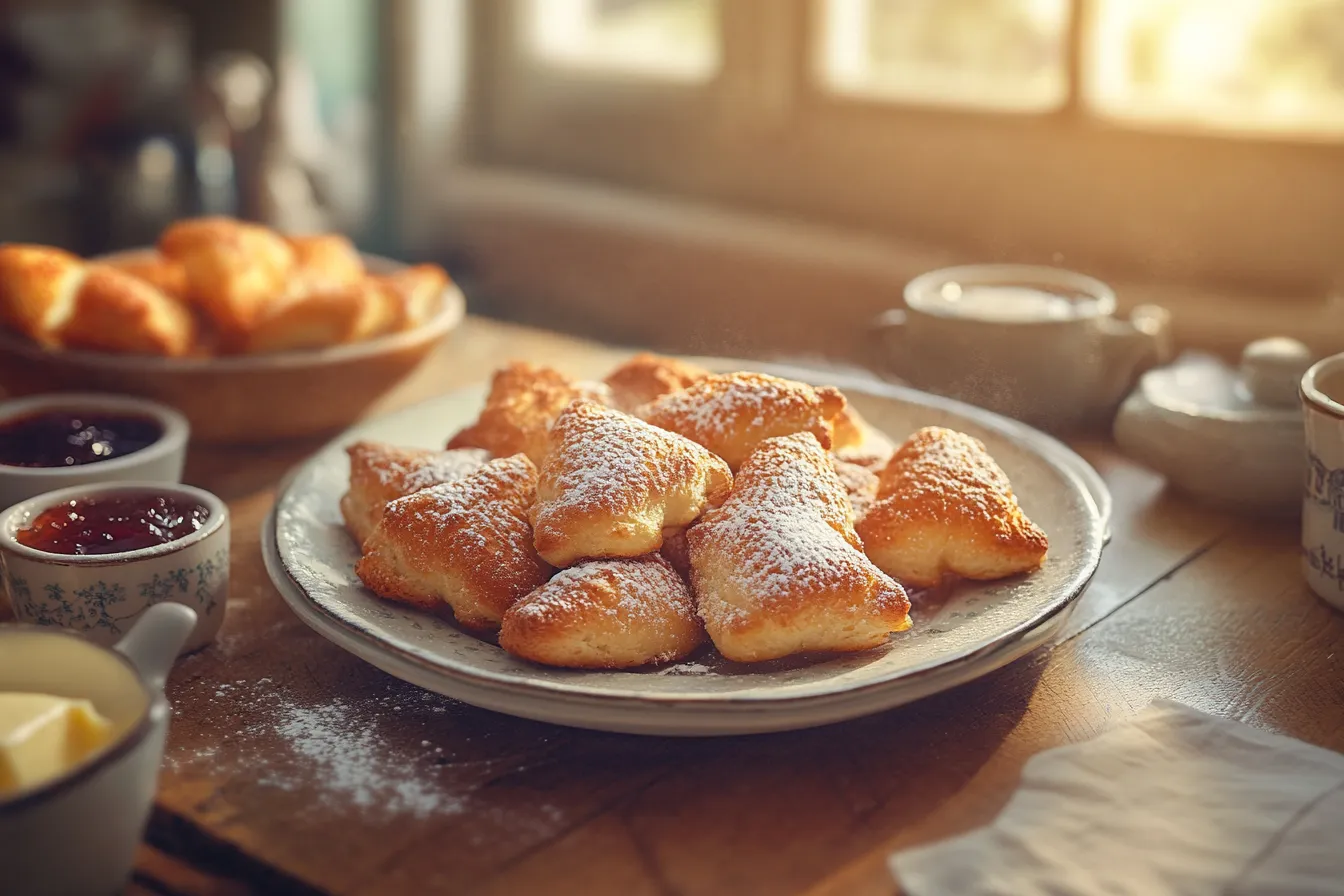
Nothing beats a freshly baked gipfeli with a smear of butter and jam. It’s a classic for a reason! Pair it with a steaming cup of coffee or hot chocolate for the ultimate Swiss breakfast experience. Similarly, a slice of cheese or a dollop of Nutella can transform your gipfeli into a delightful treat.
Savory Twists
Who says gipfeli have to be sweet? Try filling them with ham and cheese before baking for a savory twist. They make for a fantastic on-the-go breakfast or a crowd-pleasing party snack. Besides, you could experiment with other fillings like spinach and feta, or even a pizza-inspired version with tomato sauce and mozzarella.

Storing and Reheating: Keeping the Magic Alive
Freshness First
Gipfeli recipe are at their absolute best when fresh out of the oven. But if you’ve got leftovers (unlikely, we know), store them in an airtight container at room temperature for a day or two. For longer storage, you can freeze them for up to a month.
Reviving Day-Old Gipfeli Recipe
To bring back that fresh-baked crispiness, pop your gipfeli in a preheated oven at 150°C (300°F) for about 5 minutes. It’s like a spa day for your pastry! Alternatively, you can slice them in half and toast them for a different but equally delicious experience.
Troubleshooting Common Gipfeli Issues
Butter Leakage
If you notice butter leaking out during baking, it’s likely that your dough wasn’t cold enough. Next time, try chilling the shaped gipfeli for 15-20 minutes before baking. This will help keep the butter in place, resulting in flakier pastries.
Tough or Dense Texture
A tough or dense gipfeli recipe could be the result of overworking the dough or not letting it rest enough. Remember to handle the dough gently, especially during the later stages of lamination and shaping. Also, ensure you’re giving the dough adequate resting time between folds and before baking.
Uneven Rising or Baking
If your gipfeli are rising or baking unevenly, it could be due to inconsistent shaping or an uneven oven temperature. Take care to shape each gipfeli as uniformly as possible, and consider rotating your baking sheet halfway through baking to ensure even browning.
Variations on the Classic Gipfeli recipe
Whole Wheat Gipfeli recipe
For a healthier twist, try substituting up to half of the all-purpose flour with whole wheat flour. This will give your gipfeli a nuttier flavor and a bit more fiber. Keep in mind that whole wheat flour absorbs more liquid, so you might need to adjust the milk quantity slightly.
Chocolate Gipfeli recipe
Indulge your sweet tooth by adding a strip of dark chocolate to your gipfeli before rolling them up. The chocolate will melt during baking, creating a delicious surprise inside. You could also drizzle melted chocolate over the baked gipfeli for an extra decadent treat.
Herb and Cheese Gipfeli recipe
For a savory version, try mixing some grated hard cheese (like Gruyère or Parmesan) and dried herbs into your dough. This creates a flavorful pastry that’s perfect for accompanying soups or salads.
The Cultural Significance of Gipfeli recipe
A Swiss Breakfast Staple
In Switzerland, gipfeli are more than just a pastry – they’re a cultural institution. They’re a staple of the Swiss breakfast, often enjoyed alongside coffee and a variety of spreads. The ritual of starting the day with a fresh gipfeli is deeply ingrained in Swiss culture.
Gipfeli vs. Croissant: A Friendly Rivalry
While gipfeli and croissants share many similarities, Swiss locals will ardently defend the superiority of their beloved gipfeli. The debate between these two pastries is all in good fun, but it highlights the pride that the Swiss take in their culinary traditions.
FAQs: Your Burning Gipfeli recipeQuestions Answered
What is a Nussgipfel?
Wondering what makes a Nussgipfel so irresistible? This flaky Swiss pastry, filled with a rich, nutty center, is a perfect blend of tradition and indulgence. Discover its charm in our complete guide to Nussgipfel!
What’s the difference between a gipfeli and a croissant?
While similar, gipfeli are typically crispier and more buttery than their French counterparts. They also often have a more pronounced curve, resembling a crescent moon. Additionally, gipfeli sometimes contain a touch more sugar in the dough, giving them a slightly sweeter flavor. Learn more about the difference between a croissant and a gipfeli!
Can I make gipfeli ahead of time and freeze them?
Absolutely! Shape your gipfeli, then freeze them unbaked on a baking sheet. Once frozen, transfer to a freezer bag. When ready to bake, let them thaw and rise overnight in the fridge, then bake as usual. This is a great way to have fresh gipfeli on demand!
Why didn’t my gipfeli rise properly?
This could be due to old yeast or not giving the dough enough time to rise. Make sure your yeast is fresh and active, and be patient with the rising process – good things come to those who wait! Also, ensure your rising environment isn’t too cold, as yeast becomes dormant at low temperatures.
Can I use margarine instead of butter?
While you can, we wouldn’t recommend it. Butter is crucial for that authentic gipfeli flavor and texture. If you must substitute, use a high-quality margarine designed for baking. However, keep in mind that the result won’t be quite the same as with butter.
How can I make my gipfeli recipe extra flaky?
The key to extra flaky gipfeli lies in the lamination process. Make sure your butter is cold but pliable, and take care to fold and roll the dough evenly. More folds will generally result in more layers, but be careful not to overwork the dough. Also, letting the dough rest adequately between folds helps develop those beautiful layers.
Can I make gipfeli recipe without yeast?
While it’s possible to make a yeast-free version using baking powder, the result won’t be a true gipfeli. The yeast is essential for developing the flavor and texture that makes gipfeli unique. If you’re out of yeast, it’s better to wait until you can get some rather than trying to substitute.
Conclusion
So go on, give it a try – your taste buds (and impressed breakfast guests) will thank you! Remember, practice makes perfect, so don’t be discouraged if your first attempt isn’t flawless. Each batch will be better than the last, and before you know it, you’ll be crafting gipfeli that would make any Swiss baker proud. Happy baking!

